
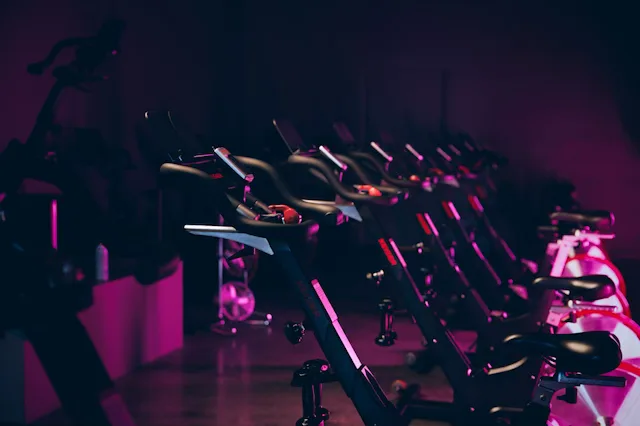
Start while the bike is stopped
Identify the saddle, handlebar and resistance adjustments before getting into the workout. Ask how each adjustment locks and how the pedals are stopped. Do not loosen parts while riding. A stationary bike can still have a moving flywheel, so learn the equipment's actual stopping procedure rather than assuming the pedals immediately stop when you stop pushing.
Check that the bike is stable and that your belongings will not interfere with the pedals or neighboring equipment. Put your bottle where you can reach it without twisting far away from your position. If anything seems loose or unclear, tell the instructor before class rather than hoping it will become obvious once everyone starts.
Ask for a saddle check in motion
A visual estimate can be a starting point, but the useful check includes easy pedaling after the adjustment is secured. You should not have to rock dramatically to reach the bottom of the stroke or feel cramped at the top. Ask the instructor to observe rather than deciding that a higher or lower number must be better.
Saddle height and forward-back position work together. Changing one may affect how the other feels, which is why copying a friend's settings is not reliable. Make one adjustment at a time, secure it, and test at an easy effort. If a position causes pain, stop and ask for help rather than trying to adapt by pedaling harder.
Make the handlebars support the ride
Choose a reach that allows you to follow the instructor's position without stretching awkwardly or resting your whole weight through locked arms. The bars are there for support and control, not as a place to hang while your legs work. Ask which hand positions are intended for the class.
Notice the difference between a supportive grip and a tight one. If you begin gripping harder as resistance increases, it may help to reduce the effort and reset. Handlebar adjustments should be made with the bike stopped and according to its instructions. A comfortable easy start gives you better feedback than testing a new position during the hardest interval.
Confirm footwear and controls
Ask which footwear and attachment system the studio uses. Secure your feet according to that system and confirm you know how to release them after the bike stops. Do not assume that experience with another studio's pedals means this equipment works identically. A short demonstration is more useful than guessing.
Test a small resistance change while riding slowly so you understand which direction increases the load and how sensitive the control feels. Locate the emergency stop if the model has one. Keep loose clothing, towels and cords away from the moving parts. These practical details should be settled before you start concentrating on music and pacing.
Save a useful reference, then recheck it
If the bike has numbered settings, note the position that worked and the type of bike you used. Treat that note as a starting reference, not a permanent rule. Equipment can differ, and the correct final check is how the setup works when you pedal easily and follow the instructor's guidance.
At LA Cycle + Yoga, arrive with time to ask for help and review the first-class information before your visit. Ask about Intro to Spin if you want more orientation; current availability comes from the studio. A repeatable pre-ride check makes later classes easier to begin, while leaving room to adjust whenever the equipment or your preferred riding position changes.
Explore your next step
Sources & further reading
Practice at a manageable effort, stop movements that cause pain and ask your instructor to clarify unfamiliar exercises. Check the current schedule for class formats and availability.